How to Know If Your IP Address Is on a Blacklist
Updated • 10 min read
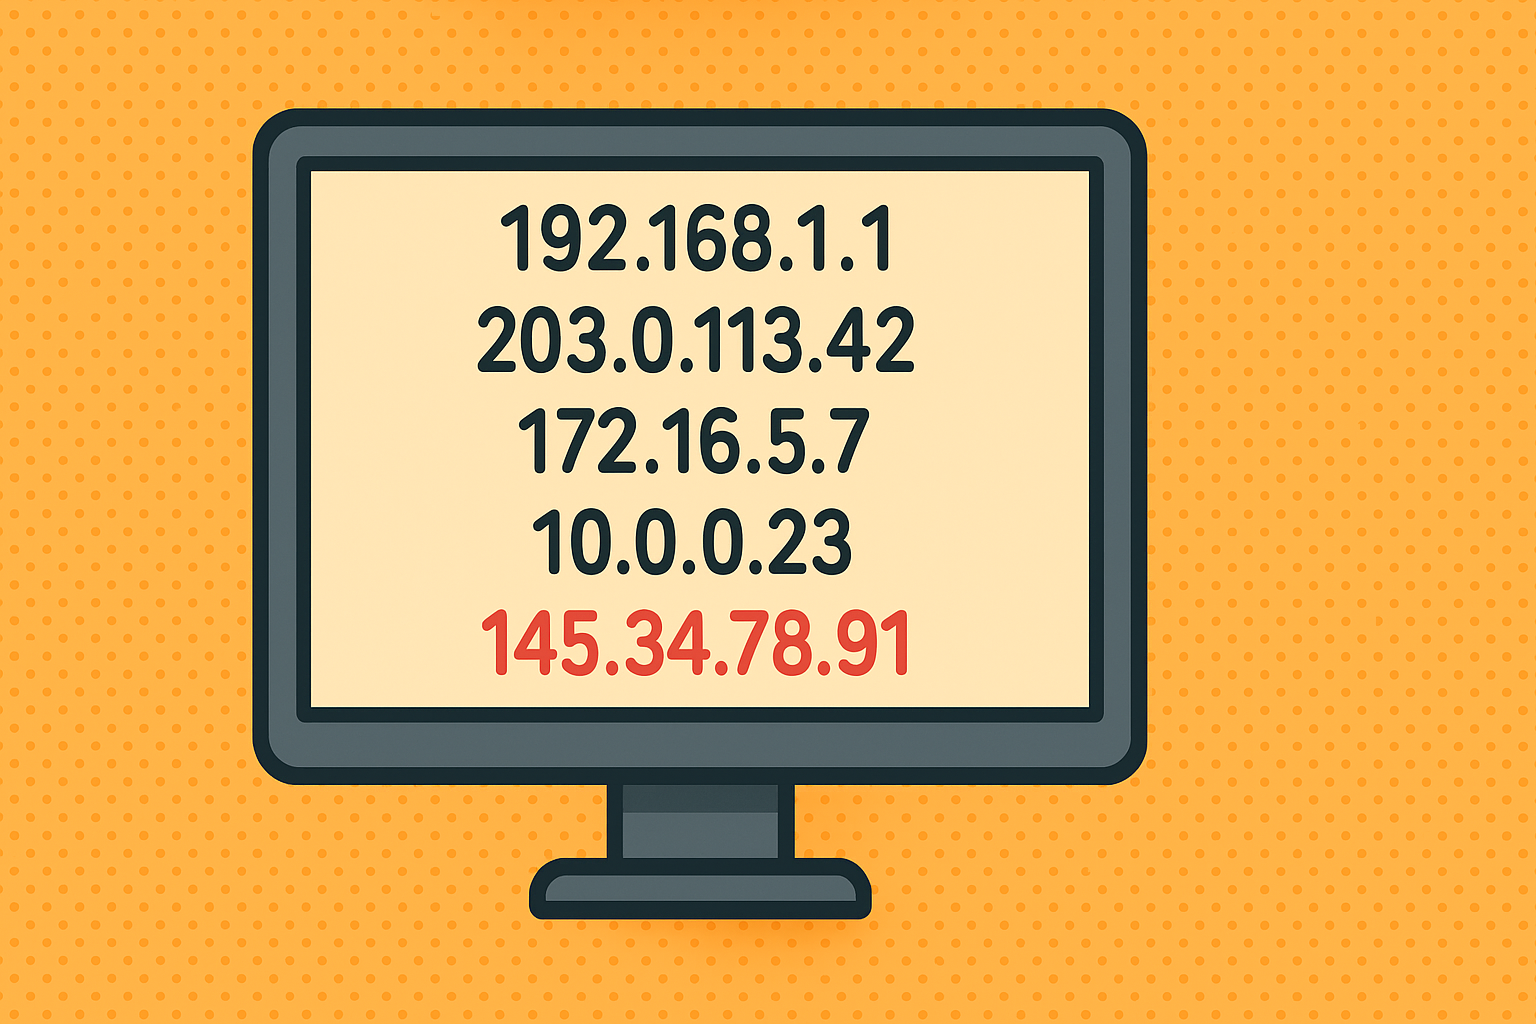
I've added a quick lookup here:
Imagine running a small business and suddenly discovering that your customers aren’t receiving your emails. One possible culprit is that your IP address has landed on a blacklist used by email providers to block suspected spam. IP blacklisting is a common mechanism to reduce junk mail on the internet – but it can also snag legitimate senders. If your mail server’s IP is blacklisted, emails you send may not be delivered to recipients. In this article, we’ll explain what IP blacklists are, why addresses get blacklisted, how to check if your IP is affected, and what you can do to resolve the issue and prevent it from happening again.
What Is an IP Blacklist?
In simple terms, an IP blacklist is a real-time database or list of IP addresses that are flagged for sending spam or other malicious activity. These lists (also known as DNSBL or RBL, for DNS-based or Realtime Blackhole Lists) are maintained by organizations, internet service providers (ISPs), and anti-spam services to protect users from unwanted emails. When an email provider sees an incoming message from a blacklisted IP, it may reject the email or route it to the spam folder to safeguard the recipient. In other words, being on a blacklist can severely hurt your email sender reputation – causing your messages to be filtered out before they ever reach someone’s inbox.
How do IP blacklists work? Many blacklists operate by collecting reports of spam or detecting suspicious behavior from an IP address (for example, a sudden surge in email volume or messages to spam trap addresses). If an IP is deemed a source of spam, it gets added to the list. Mail servers and spam filters can then reference these blacklist databases in real-time to decide whether to accept or block emails from that IP. There are dozens of such blacklists on the internet, each with its own listing criteria. In fact, some tools check your IP against over 100 different blacklist databases at once.
Why IP Addresses Get Blacklisted
How does an IP end up on a blacklist? Typically, an IP address is blacklisted because it was observed sending spam or doing something that looks like spam. Here are some common reasons why IPs get blacklisted:
- Sending Spam: If you (or someone on your network) sends large volumes of unsolicited emails, your IP will likely be flagged. Sometimes this happens without your knowledge – for example, if a malware infection turns your computer or server into a spam-sending bot.
- Compromised Accounts or Servers: A hacked email account or mail server can be used by attackers to send spam. Even if you never intended to send spam, a breach can cause your IP to distribute junk mail or viruses, leading to a blacklist entry.
- High Complaint Rates: When many recipients mark your emails as “Spam” or report them, it signals that your messages are unwanted. A high spam complaint rate can trigger blacklist listings. For example, emailing people who never explicitly opted into your list can generate complaints.
- Malicious Content: Sending emails that contain viruses, phishing scams, or other malicious content will quickly get your IP blacklisted. Mail systems strive to block malware, so an IP associated with such threats is promptly listed.
- Poor List Hygiene (Spam Traps/Bounces): Using purchased or outdated email lists can land you in trouble. These lists often include invalid addresses, spam traps, or recipients who don’t want your emails. Hitting many spam trap addresses or getting a lot of bounces is a red flag. Blacklist operators see this as a sign of careless or unethical sending practices and may block your IP.
- Sudden Surges in Email Volume: A drastic spike in the number of emails sent from your IP can look like a spam outbreak. Even if the emails are legitimate, this unusual behavior might trigger automated spam filters. It’s important to send at a steady rate and warm up new IP addresses gradually to build trust.
In short, IP blacklisting usually comes down to sending something that looks like spam – whether due to actual spam activity or even just sending mistakes. The good news is that if you understand the causes, you can take steps to avoid them.
Common Blacklist Services (with links)
There isn’t just one “blacklist” out there – multiple organizations maintain their own blacklists of risky IPs. Some of the most well-known blacklist providers include Spamhaus, SORBS, Barracuda, and SpamCop, among others. Each service has its own criteria for listing an IP and its own process for getting removed. Let’s briefly introduce a few:
- Spamhaus – The Spamhaus Project is a widely respected non-profit that runs several major IP blocklists. Their lists (like the SBL, XBL, and PBL) track spam sources and compromised machines worldwide. Many email providers use Spamhaus data to filter mail.
- SORBS – The Spam and Open Relay Blocking System (SORBS) maintains lists of spam hosts and open relays. It’s used by some ISPs to block known spam sources.
- Barracuda BRBL – Barracuda Networks operates the Barracuda Reputation Block List, a free DNSBL of IP addresses known to send spam. Organizations using Barracuda’s email security products often rely on this list.
- SpamCop – The SpamCop Blocking List compiles IPs that have sent spam reported by its users. It’s now part of Cisco’s Talos intelligence. SpamCop’s list is frequently used to filter incoming mail on many servers.
These are just a few examples – there are many other blacklist services (such as Proofpoint’s list, Cloudmark CSI, UCEPROTECT, etc.). The key point is that mailbox providers might be consulting one or many of these sources. Being clear on which blacklist has flagged you will help determine how to fix the issue.
How to Check If Your IP Is Blacklisted
So, how can you tell if your IP address is on a blacklist? I've added a quick lookup here:
You can also use an online blacklist lookup tool. These services query multiple blacklist databases and report where (if anywhere) your IP appears. Popular free lookup tools include:
Tip: Pay attention to email bounce-back messages too. If your emails are being rejected due to a blacklist, the bounce message often mentions it. You might see an SMTP error like “550 5.7.1 Email rejected – IP blacklisted by Spamhaus” in the returned email. Such clues can point you to which blacklist is causing the block. However, not all bounces clearly state the reason, so an explicit blacklist check is usually the surest method.
What Do I Do If My IP Is Blacklisted?
Discovering that your IP is blacklisted can be alarming, but it’s fixable. The key is to act promptly and methodically. Here are the steps you should take to get off a blacklist and restore your sending reputation:
1. Identify the Blacklist: First, find out which blacklist(s) have listed your IP. A lookup tool report will tell you the specific blacklist names (for example, Spamhaus SBL, Barracuda, etc.). This is important because you’ll need to address each listing individually.
2. Investigate the Cause: Determine why your IP was flagged in the first place. Was it sending spam emails? Are there signs your mail server was compromised by attackers? Did you send a campaign to a bad email list? Understanding the root cause is crucial. For instance, if a virus on a machine in your network started mass-mailing, you’ll need to clean that up. If high bounces or complaints triggered the listing, you’ll need to correct your sending practices.
3. Resolve the Issue: Fix the underlying problem before requesting removal. This might involve securing your email server (e.g. close open relays, update passwords), removing malware from infected systems, updating outdated software, and improving your email practices. Ensure you stop any spamming behavior – don’t send more emails until things are fixed, or you risk further damage. If the issue was a poor-quality mailing list, purge it to remove invalid addresses and only keep users who opted in.
4. Request Delisting: Once you’ve remedied the cause, follow the procedure to get your IP removed from the blacklist. This usually means contacting the blacklist operator or filling out a form on their website. Each blacklist is different: some automatically drop listings after a certain time if the spam stops, while others require a manual request. Provide any required information – sometimes you may need to explain what you fixed or promise it won’t happen again. For example:
Spamhaus Removal Center*
Barracuda Removal Request*
SORBS Contact*
5. Be Patient and Monitor: Delisting isn’t always instant. It might take anywhere from a few hours to a couple of days for your IP to be removed and for the changes to propagate. During this time, avoid sending high volumes of email. Keep checking the blacklist status periodically to see if you’ve been cleared. It’s also wise to monitor your email delivery closely afterward to ensure things truly return to normal.
How do I Prevent Getting Blacklisted in the Future?
After you’ve cleared your IP from a blacklist, the last thing you want is to end up right back on one. Prevention is all about maintaining good sending habits and security hygiene going forward. Here are some best practices to help keep your IP reputation clean:
- Practice Good Email Hygiene: Only send emails to people who have willingly subscribed or opted in. Manage your mailing lists carefully – remove addresses that bounce, and regularly prune out inactive subscribers. Never buy email lists, as they often contain spam traps or uninterested recipients. Keeping a “clean” list will dramatically lower the chance of complaints and spam trap hits.
- Strengthen Security: Make sure any server or device that sends email from your IP is secured. Use strong passwords for email accounts and change them periodically. Enable authentication protocols like SMTP AUTH and consider using two-factor authentication if available. Keep your mail server software and antivirus/anti-malware tools up to date. This reduces the risk of hackers hijacking your system to send spam. In short, lock down your system so spammers can’t abuse it.
- Use Email Authentication: Implementing protocols such as SPF, DKIM, and DMARC can help establish your legitimacy as a sender.
- Avoid Sudden Volume Spikes: If you need to send a large number of emails (like a newsletter to thousands of customers), do it in controlled batches. ISPs notice when a normally quiet IP suddenly blasts out tons of emails. Plan gradual sending increases (a process known as “warming up” an IP) for new IP addresses or new mailing campaigns.
- Monitor Your Sender Reputation: Staying off blacklists is an ongoing process. Consider monitoring services like:
SenderScore by Validity*
Talos Intelligence by Cisco*
- Maintain Quality Content: Avoid using deceptive subject lines or all-caps, spammy language that might trigger filters. While content alone won’t usually land you on an IP blacklist, it can contribute to emails being marked as spam by users or filters, which in turn hurts your sender reputation over time.
Finding out that your IP address is on a blacklist can be frustrating, but it’s a challenge that can be overcome with the right approach. Identify the problem, fix the cause, and request removal – that’s the formula to get off a blacklist. More importantly, adopt preventative measures so that your IP stays in good standing moving forward. Remember that email deliverability and sender reputation are ongoing responsibilities. Regularly monitor your IP’s status and keep up good sending habits. This way, you’ll know right away if there’s an issue, and you can address it before it impacts your business. With a clean IP and solid best practices, you can ensure your emails land in the inbox where they belong – keeping you connected with your audience. Keeping an eye on your IP’s standing and practicing good email hygiene will help your messages continue to reach their intended recipients, free from the headaches of blacklists.